How to resize
an IKEA picture frame
Posted on November 1, 2009

To hang an artwork recently acquired on a trip to China, I set out on a mission to frame it. I could buy a frame together with the artwork for a small fee, but couldn’t carry something big and fragile on an airplane. There were no stock frames of the right size anywhere online – including IKEA – either.
A few quick calls to local framing stores revealed a inevitable fact – framing would cost way more than the artwork itself. Yet IKEA was generously offering a large stock Ribba frame for only CA$ 30. Could I resize the frame to suit my needs? I toyed with the idea. After all, if successful, I could save over a hundred dollars.
Needed two L’s
I wanted the project to be as simple as possible. That meant using little time, effort and materials to finish. The key design was to split the frame in half, creating two L’s, keeping two joints intact and minimizing the number of joints I had to make later.
To determine how much of the frame to cut off, I subtracted the artwork size with the size the frame was designed for. In my case, the artwork was 65cm x 65cm while the size of the frame was 70cm x 100cm. Thus I needed to remove 5cm on the short side and 35cm on the long side. It didn’t matter what the actual lengths on the frame were.

Preparation
 1 I indicated where to cut.

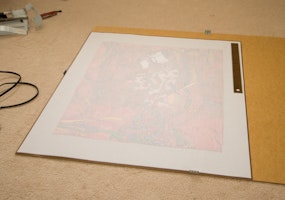
 3 It was helpful to have a template to check the size of the frame in each step of the project. I simply laid the artwork on top of the labelling paper that came with the frame, then traced its outline with a knife.
 4 Not assured that my measurements on the artwork were correct, I distinguished the orientation of the frame. That way the artwork will fit even if my measurements were wrong.
 5 Did the same for the bottom part as well.
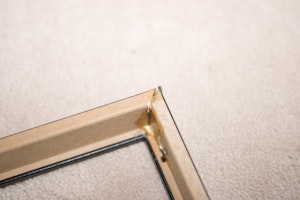
Cutting the frame
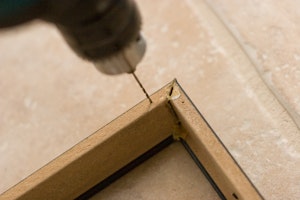
To make a nice, clean edge, the joints had to meet at 45° angles. A mitre saw will make this task tremendously easier, but I didn’t have one. I tried my luck with a jigsaw instead.
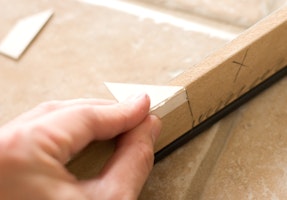
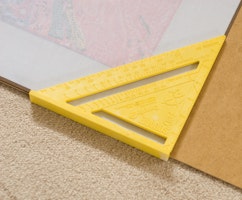
 6 First, I needed a couple of mini triangular set squares, made using a cardboard mat that came with the frame.
 7 I marked the inside with a 45° angle...
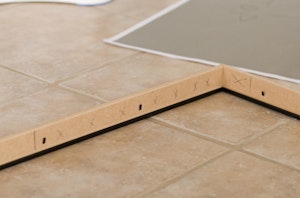 9 I marked unused portions of the frames with X’s to prevent mix ups later on.
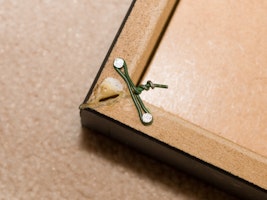
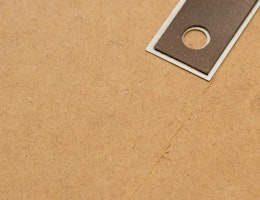
 10 This anchor was placed too close to the edge where I will be cutting. Like a bad tooth, I had it removed.
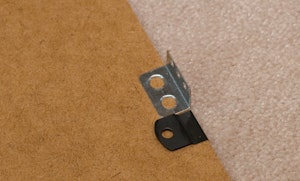
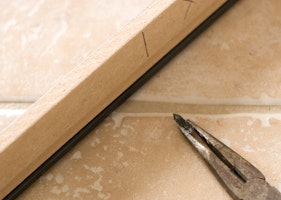 11 Anchor pulled out. Simple as pie.
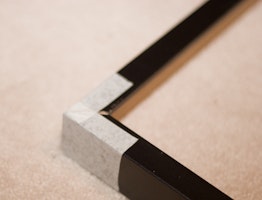
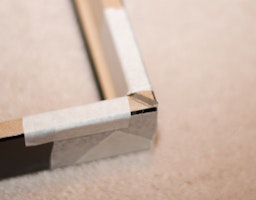
Joining back together
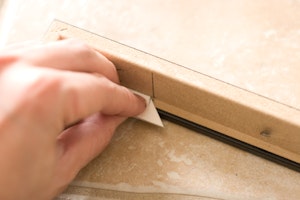
After cutting (with much difficulty) with a jigsaw, I put the two L’s together.


Backing board


Finalizing the frame